Leather Edging Techniques
4 Techniques we use to create strong and cool looking edges on leather
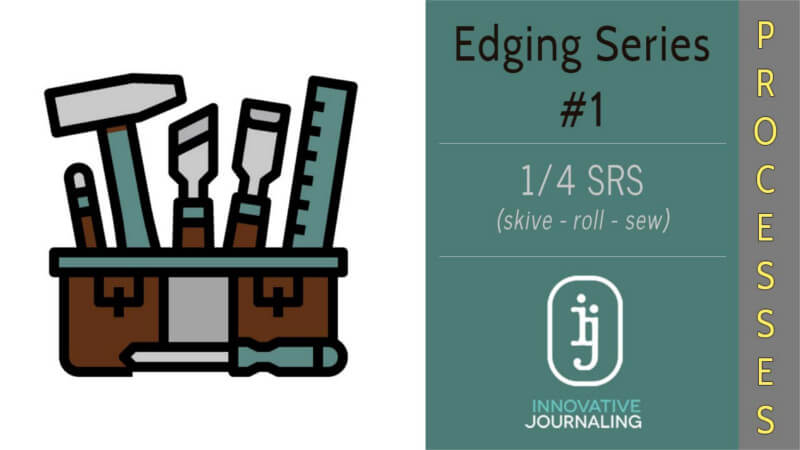
Technique #1: the 1/4 SRS Technique
Our simplest edge treatment for pockets on covers and folios.
We have 8 Chrome/Oil tanned leather colors. Unlike the stiffer, belt like, Vegetable tanned leathers, our leathers are soft right out of the box. Like the blue jeans you wear that only get softer and more comfortable with age, our leathers will immediately conform to your lifestyle and develop a great patina over time, making your life’s adventures more memorable and meaningful. It gets its name because we skive the leather edge 1/4 inch, roll it over and then sew the edge.
Technique #2: the 3/4 2XX Technique
A stronger edge treatment than the ¼ SRS above
This technique was created by us in house and provides greater edge strength than our ¼ SRS technique above. It has a finished edge of 1/4 inch but it is double thick. We use this edge technique on the outside and inside full width pockets of our bags to inhibit stretching of the pocket’s edge. It gets it’s name because we execute a 3/4 inch wide skive with our skiver and then roll the skived edge over on itself 2 times and thus the name, 3/4 2XX.
Technique #3: the 1-1/2 2XX Technique
Our strongest and most decorative rolled edge treatment
Similar to our 3/4 2XX technique above, this goes one step farther in strength and decoration by creating a wider reinforced area with a finished edge width of 3/4 inch and 2 parallel stitches sewn with our lighter weight Seiko process to provide absolute protection against edge stretching with normal and slightly aggressive abuse. It gets its name because we execute a 1-1/2 inch wide skive with our skiver and then roll the skived edge over on itself 2 times and thus the name, 1-1/2 2XX.
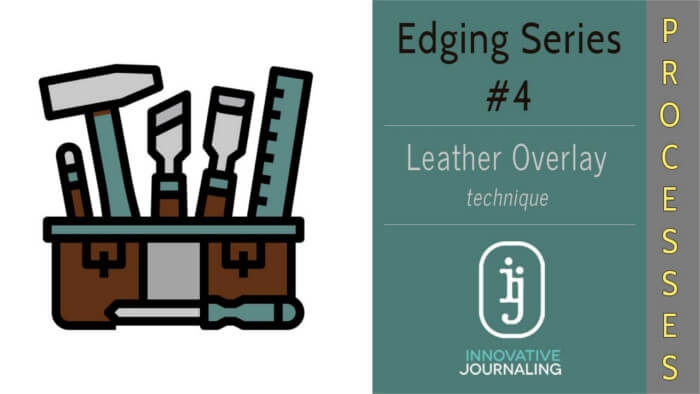
Technique #4: Leather Overlay Technique
Our first and strongest edge treatment
Back toward the beginning when we only had our first skiver which was built back in the 1950’s, we developed this edge treatment for the outside front walls of all our leather bags and totes. This was originally made to a finished width of 3/4 inch but now we make it anywhere from 5/8 to 1 inch wide depending on the bag and leather. This uses a separate piece of leather which is rolled and then laid over the raw edge of another piece of leather. It is then sewn using either Durk, our heavy duty saddle process or Seiko, our lighter weight process, depending on the application, leather and width of the edging. In this video we demonstrate this edge on our smaller and lighter weight bag, The Sleep Nomad.
Fasteners – Setting Snaps and Rivets
How we set snaps and rivets in our leather bags and pouches
Setting Durable Snaps
The tools and methods we use for setting durable snaps
Two of the most common snaps are lightweight Spring Snaps and heavier duty Durable Snaps.
While hobbyists use hand tools to set these, it can be a bit more difficult and less accurate than using a foot press.
In this video we show you 2 sizes of durable snaps, the 4 different pieces to make this snap work and how we set them with our foot press process and specialized dies.
Setting Tubular Rivets
Two ways we set tubular rivets by hand
Tubular rivets come in all shapes, sizes and lengths but basically you need 2 tools to set them, a hammer and a peening tool.
In this video we’ll show you how we set them using our 100 year old Chandler paper cutter as an anvil and 2 different peening tools, each of which has a very different finished look.
Watch us Make Simple Stuff
In this section we utilize a combination of processs and hand tools to show you how we make some simple things from start to finish
Making a Slim Leather Pouch
Making a Slim Leather Pouch from start to finish
We offer 3 sizes of Slim Leather Pouches. In this video we show you how we make the Medium size Slim Leather Pouch from beginning to end using our different processs and hand tools.
Making a FAT Leather Pouch
Making a FAT Leather Pouch from start to finish
Our fat leather pouch has 3 pieces to it. In this video we use both our heavy duty saddle and light weight sewing processs as well as the skiver and some hand tools to show you how we make a gusseted 7 x 5 x 1.5 inch leather pouch.
This construction is both basic and foundational for many of the other more complex techniques we use when making the leather bags we sell.
Making an Infinitely Adjustable Shoulder Strap
Making an infinitely adjustable shoulder strap
In this video we use our light weight sewing process, a skiver, 3 pieces of solid brass hardware and some hand tools to make an infinitely adjustable shoulder strap. Sometimes figuring out how to string the leather thru hardware can be a mental puzzle. We’ll show you how we do that also.
Making a Simple Earbud Holder
How we make a simple earbud holder
Earbuds may be going the way of the floppy disc but they’re fun to make and… really easy too. We don’t use any hand tools at all to make these and in this video we’ll show you how we do it using our 15 ton Clicker Press to cut the pattern and a kick press to set the snaps. It’s simple and quick to do.
Miscellaneous Processes
This section has all the other things that don’t fit into the other sections and it is the one we will be adding new stuff to more often than the other sections.
The Sandwich Skive
How we reduce the bulk of multiple thicknesses of leather.
On folios and bags with pockets, sometimes we need to stack 4 or 5 or more pieces of leather together. Utilizing our skiver, this video shows a technique we created to greatly reduce the bulk and thickness in those areas where we stack multiple pieces of leather.
How we Perfectly Center Closure Strap Holes
How we get the holes in your closure straps perfectly centered and spaced
Mostly we use our kick press for setting snaps and a few other things. But we can also use it to perfectly center, punch and space the holes used in some of the closure straps when making leather bags.

 Gsry D.
  Verified Purchase
  Julie L. B.


 Verified Purchase